こんにちは!Narimasaです!
今回は、仮想デスクトップサービスであるAmazon WorkSpacesに多要素認証を設けるため、EC2にFreeRADIUSとGoogle Authenticator をインストールします。
※今回の記事は下記を参考にハンズオン形式で作成しています。
http://aws.typepad.com/sajp/2014/10/google-authenticator.html
RADIUSとは
Remote Authentication Dial In User Serviceの頭文字から名付けられたプロトコルで、クライアントの認証・承認を行うために用いられます。
今回はPAM(Pluggable Authentication Module)でユーザー認証を行い、これにGoogle Authenticator(2段階認証アプリ)を合わせることで、WorkSpacesにログインする際に2段階認証を設ける形式になります。
前準備
多要素認証を用いるにあたって、今回は下記の環境を利用します。
・WorkSpaces Connectを介してActive Directoryと連携しているWorkSpaces環境。
・WorkSpacesと同じVPC内にあるEC2インスタンス(Amazon Linux)。
・EC2インスタンスに対してWorkSpaces Connectのコントローラからの接続を許可(UDP 1812ポート)
インストール
EC2インスタンスにSSHで接続し、必要なパッケージをインストールします。
1# sudo yum update23# sudo yum install freeradius freeradius-utils git gcc pam-devel qrencode qrencode-libs qrencode-devel次にGoogle Authenticatiorをソースからインストールします。
1# git clone https://code.google.com/p/google-authenticator/インストールしたらコンパイルします。
1# cd google-authenticator/libpam/23# make45# sudo make install設定
RADIUS認証用のグループを作成します。
1# sudo groupadd radius-enabledFreeRADIUSをrootユーザーで動作させる為の設定を行います。
1# sudo vim /etc/raddb/radiusd.conf23#user = radiusd4#group = radiusd5user = root6group = root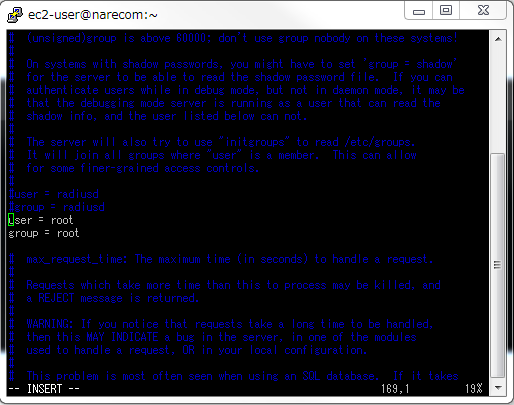
RADIUSがPAMを使うように設定します。
1# sudo vim /etc/raddb/users23#DEFAULT Group == "disabled", Auth-Type := Reject45# Reply-Message = "Your account has been disabled."67 #8DEFAULT Group != "radius-enabled", Auth-Type := Reject9 Reply-Message = "Your account has been disabled."10DEFAULT Auth-Type := PAM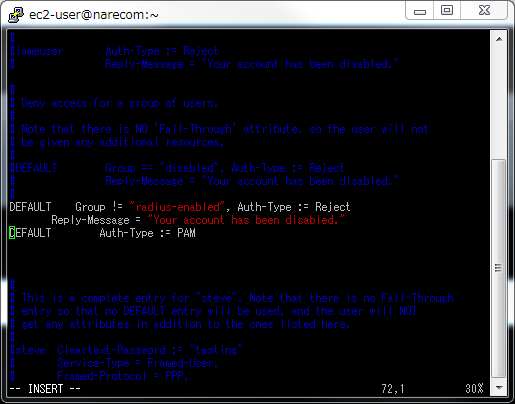
1# sudo vim /etc/raddb/sites-available/default23# Pluggable Authentication Modules.45pam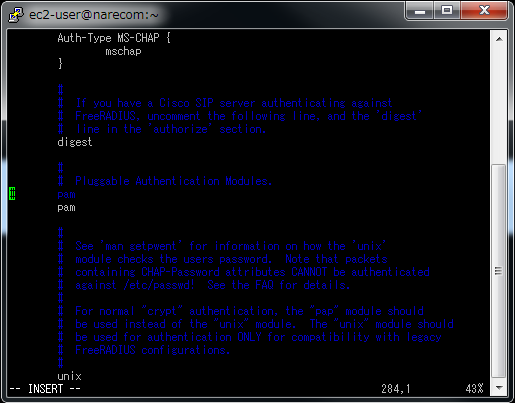
続いて、FreeRADIUSがGoogle AuthenticatorのPAMモジュールを使うように設定します。
1# sudo vim /etc/pam.d/radiusd23#auth include password-auth4#account required pam_nologin.so5#account include password-auth6#password include password-auth7#session include password-auth8auth requisite pam_google_authenticator.so9account required pam_permit.so10session required pam_permit.so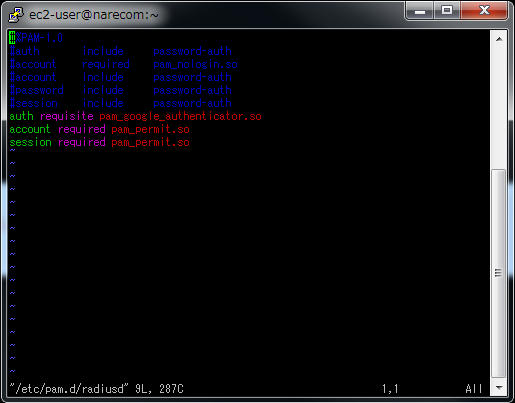
FreeRADIUSがRADIUSプロトコルで受け付けるサブネットとパスワードを設定します。
1# sudo vim /etc/raddb/clients.conf23# secret = testing12345# }67 #}8client VPC Network Address {9 secret = password10 shortname = from-vpc11}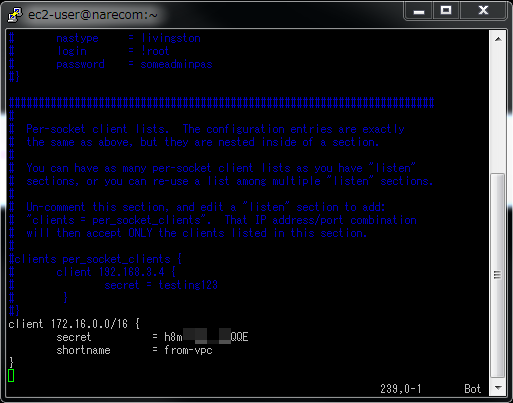
ここまででFreeRADIUSの設定は完了です。
FreeRADIUSを起動させます。
1# sudo chkconfig –level 345 radiusd on23# sudo /etc/init.d/radiusd start起動できれば設定成功です。
次回は、Google Authenticatorを利用して実際に多要素認証ログインを行います。
お楽しみに!!