こんにちは! JQです。
前回は『CloudFormation編~CloudFormationでVPCパート①~』 ということで、EclipesAWS Toolkitのインストールまでをしてみました。
今回は『CloudFormation編~CloudFormationでVPCパート②~』と題して、CloudFormationのStackでVPCを構築してみたいと思います。
Templateの作成
3 Templateの作成
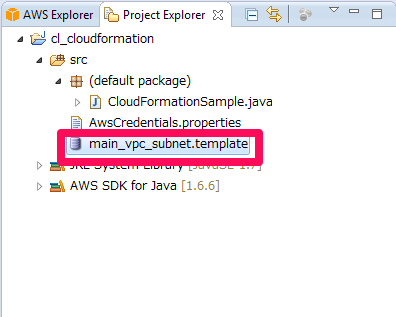
先ずは適当なProjectを作成してTemplateファイルを配下に置きます。
Templateファイルには作成したい構成に近いサンプルを利用してみます。
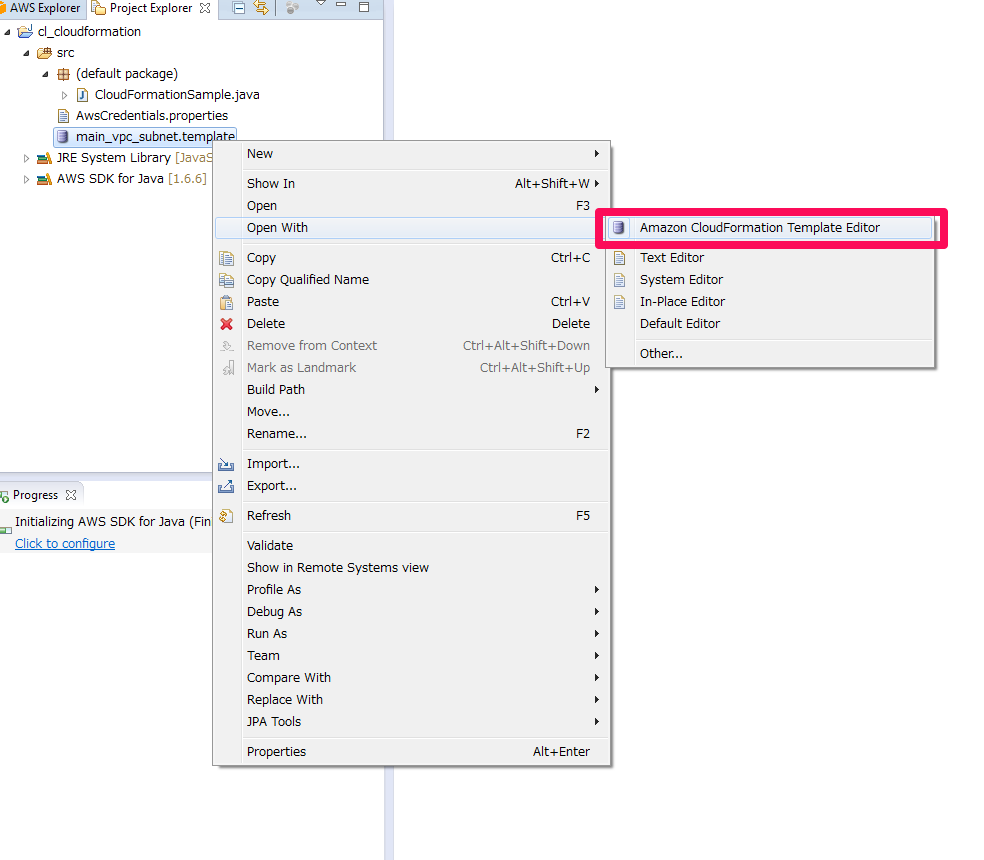
該当のファイルで右クリックからメニューを表示します。
「Open With」の項目から「Amazon CloudFormation Template Editor」を選択します。
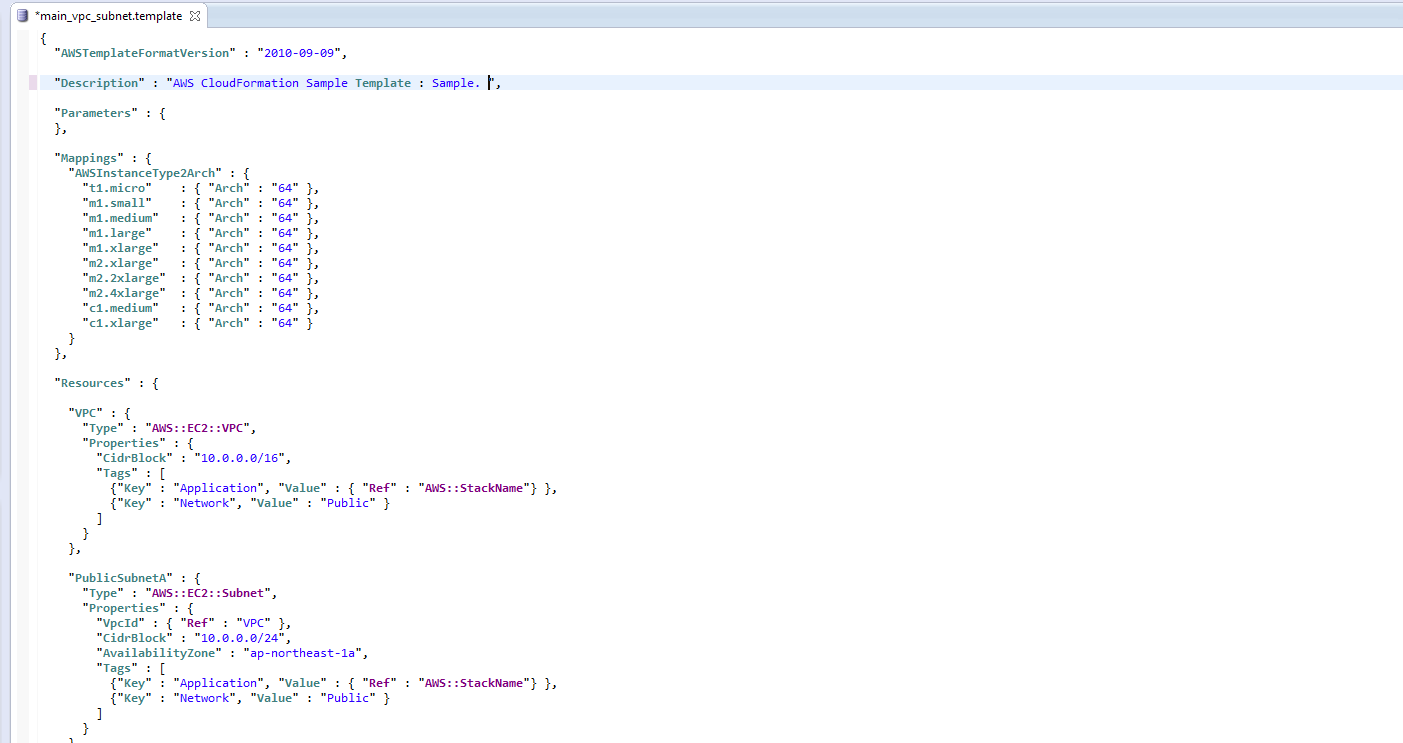
Editorを利用して構築したい構成に修正していきます。
今回は次のようなVPCを試しに作成してみます。
VPC: 10.0.0.0/16
Public Subnet: 10.0.0.0/24 ZoneA
Public Subnet: 10.0.1.0/24 ZoneC
サンプルは以下になります。
|
1 2 3 4 5 6 7 8 9 10 11 12 13 14 15 16 17 18 19 20 21 22 23 24 25 26 27 28 29 30 31 32 33 34 35 36 37 38 39 40 41 42 43 44 45 46 47 48 49 50 51 52 53 54 55 56 57 58 59 60 61 62 63 64 65 66 67 68 69 70 71 72 73 74 75 76 77 78 79 80 81 82 83 84 85 86 87 88 89 90 91 92 93 94 95 96 97 98 99 100 101 102 103 104 105 106 107 108 109 110 111 112 113 114 115 116 117 118 119 120 121 122 123 124 125 126 127 128 129 130 131 132 133 134 |
{ "AWSTemplateFormatVersion" : "2010-09-09", "Description" : "AWS CloudFormation Sample Template : Sample. ", "Parameters" : { }, "Mappings" : { "AWSInstanceType2Arch" : { "t1.micro" : { "Arch" : "64" }, "m1.small" : { "Arch" : "64" }, "m1.medium" : { "Arch" : "64" }, "m1.large" : { "Arch" : "64" }, "m1.xlarge" : { "Arch" : "64" }, "m2.xlarge" : { "Arch" : "64" }, "m2.2xlarge" : { "Arch" : "64" }, "m2.4xlarge" : { "Arch" : "64" }, "c1.medium" : { "Arch" : "64" }, "c1.xlarge" : { "Arch" : "64" } } }, "Resources" : { "VPC" : { "Type" : "AWS::EC2::VPC", "Properties" : { "CidrBlock" : "10.0.0.0/16", "Tags" : [ {"Key" : "Application", "Value" : { "Ref" : "AWS::StackName"} }, {"Key" : "Network", "Value" : "Public" } ] } }, "PublicSubnetA" : { "Type" : "AWS::EC2::Subnet", "Properties" : { "VpcId" : { "Ref" : "VPC" }, "CidrBlock" : "10.0.0.0/24", "AvailabilityZone" : "ap-northeast-1a", "Tags" : [ {"Key" : "Application", "Value" : { "Ref" : "AWS::StackName"} }, {"Key" : "Network", "Value" : "Public" } ] } }, "PublicSubnetC" : { "Type" : "AWS::EC2::Subnet", "Properties" : { "VpcId" : { "Ref" : "VPC" }, "CidrBlock" : "10.0.1.0/24", "AvailabilityZone" : "ap-northeast-1c", "Tags" : [ {"Key" : "Application", "Value" : { "Ref" : "AWS::StackName"} }, {"Key" : "Network", "Value" : "Public" } ] } }, "InternetGateway" : { "Type" : "AWS::EC2::InternetGateway", "Properties" : { "Tags" : [ {"Key" : "Application", "Value" : { "Ref" : "AWS::StackName"} }, {"Key" : "Network", "Value" : "Public" } ] } }, "AttachGateway" : { "Type" : "AWS::EC2::VPCGatewayAttachment", "Properties" : { "VpcId" : { "Ref" : "VPC" }, "InternetGatewayId" : { "Ref" : "InternetGateway" } } }, "PublicRouteTable" : { "Type" : "AWS::EC2::RouteTable", "Properties" : { "VpcId" : {"Ref" : "VPC"}, "Tags" : [ {"Key" : "Application", "Value" : { "Ref" : "AWS::StackName"} }, {"Key" : "Network", "Value" : "Public" } ] } }, "PublicRoute" : { "Type" : "AWS::EC2::Route", "Properties" : { "RouteTableId" : { "Ref" : "PublicRouteTable" }, "DestinationCidrBlock" : "0.0.0.0/0", "GatewayId" : { "Ref" : "InternetGateway" } } }, "PublicSubnetRouteTableAssociationA" : { "Type" : "AWS::EC2::SubnetRouteTableAssociation", "Properties" : { "SubnetId" : { "Ref" : "PublicSubnetA" }, "RouteTableId" : { "Ref" : "PublicRouteTable" } } }, "PublicSubnetRouteTableAssociationC" : { "Type" : "AWS::EC2::SubnetRouteTableAssociation", "Properties" : { "SubnetId" : { "Ref" : "PublicSubnetC" }, "RouteTableId" : { "Ref" : "PublicRouteTable" } } } }, "Outputs" : { "VpcId" : { "Value" : {"Ref" : "VPC"}, "Description" : "VPC ID of newly created VPC" }, "PublicSubnetA" : { "Value" : {"Ref" : "PublicSubnetA"}, "Description" : "Public Subnet in AZ A" }, "PublicSubnetC" : { "Value" : {"Ref" : "PublicSubnetC"}, "Description" : "Public Subnet in AZ C" } } } |
4 Stackの実行
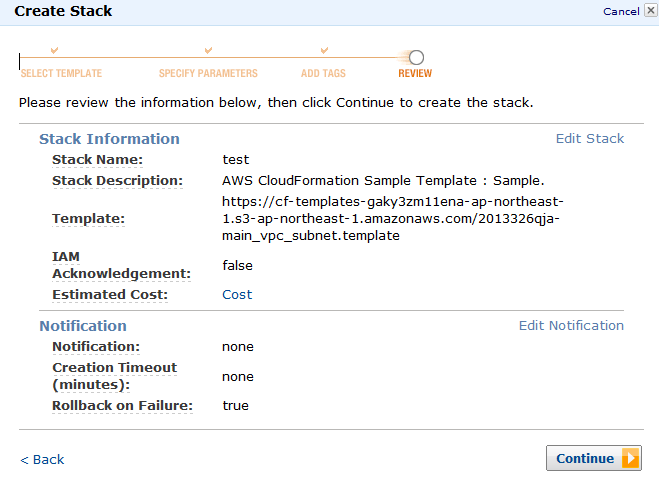
実際に作成したTemplateを実行してみます。
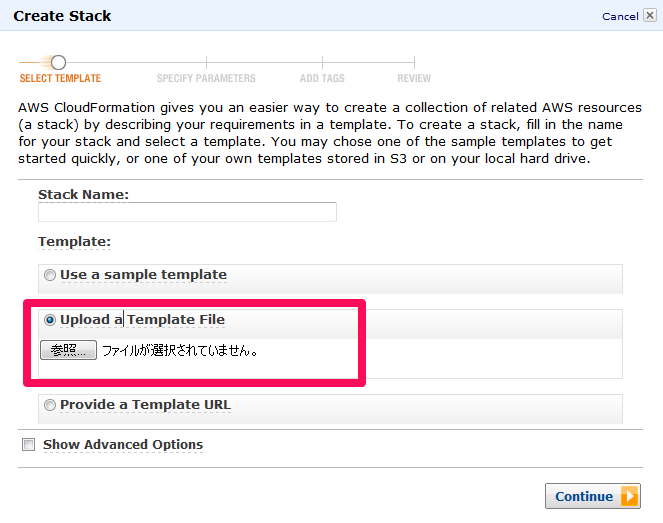
今回はマネジメントコンソールから行ってみます。
「Create Stack」で「Upload a Template File」から作成したTemplateをアップします。
作成したCloudFormationの画面から「Events」で進行状況を確認出来ます。
Stackのステータスが「CREATE_COMPLETE」になれば成功です!
いかがでしたでしょうか?
次回は、VPCをStackから作成してみたいと思います。
お楽しみに!
