はじめに
FinchでJupyterLab環境作ります。
さらにLambdaレイヤー作成用にも使ってみます。
開発環境
- MacBookPro 2018
Amazon LinuxのJupyterLab環境を作成
1.Finch-v0.1.0-x86_64.pkgをインストール
2.finchを初期化
$ finch vm init
|
1 2 3 4 5 6 7 8 9 10 |
INFO[0000] Using default values due to missing config file at "/Users/user/.finch/finch.yaml" INFO[0000] "/Users/user/.finch" directory doesn't exist, attempting to create it INFO[0000] binaries directory doesn't exist INFO[0000] Requesting root access to finish network dependency configuration Password: INFO[0004] sudoers file not found: %!w(*fs.PathError=&{open /etc/sudoers.d/finch-lima 2}) INFO[0004] Initializing and starting Finch virtual machine... INFO[0288] Finch virtual machine started successfully |
3.2回目からはstartを使用
$ finch vm start
|
1 2 |
FATA[0000] the instance "finch" is already running |
4.サンプルのhello-finchを実行
$ finch run –rm public.ecr.aws/finch/hello-finch
|
1 2 3 4 5 6 7 8 9 10 11 12 13 14 15 16 17 18 19 20 21 22 23 24 25 26 27 28 29 30 31 |
public.ecr.aws/finch/hello-finch:latest: resolved |++++++++++++++++++++++++++++++++++++++| index-sha256:a71e474da9ffd6ec3f8236dbf4ef807dd54531d6f05047edaeefa758f1b1bb7e: done |++++++++++++++++++++++++++++++++++++++| manifest-sha256:2f848edb93f7d0cfa20d7dc7add84586fe06d258d6dd54422d8015c584ff3b9e: done |++++++++++++++++++++++++++++++++++++++| config-sha256:50c36f221209ea6829db90eff11db167d8cc22abf7c2c0f1e7f4a0c701c0592f: done |++++++++++++++++++++++++++++++++++++++| layer-sha256:4f4fb700ef54461cfa02571ae0db9a0dc1e0cdb5577484a6d75e68dc38e8acc1: done |++++++++++++++++++++++++++++++++++++++| layer-sha256:cb7e3bc996dd3208c5b4560d5f6571486e2fe90b5a1cc384e2d6af0dc07de02a: done |++++++++++++++++++++++++++++++++++++++| elapsed: 3.6 s total: 1.0 Mi (295.1 KiB/s) @@@@@@@@@@@@@@@@@@@ @@@@@@@@@@@@ @@@@@@@@@@@ @@@@@@@ @@@@@@@ @@@@@@ @@@@@@ @@@@@@ @@@@@ @@@@@ @@@# @@@@@@@@@ @@@@@ @@ @@@ @@@@@@@@@@ @@@@% @ @@ @@@@@@@@@@@ @@@@ @@@@@@@@ @@@@ @@@@@@@@@@@& @@@@@ &@@@@@@@@@@@ @@@@@ @@@@@@@@ @@@@@ @@@@@( @@@@@@ @@@@@@ @@@@@@@ @@@@@@@ @@@@@@@@@@@@@@@@@@@@@@@@@@ @@@@@@@@@@@@@@@@@@ Hello from Finch! Visit us @ github.com/runfinch |
5.アーキテクチャの確認
$ uname -sm
|
1 2 |
Darwin x86_64 |
6.linux/amd64を指定して実行
$ finch run –rm –platform=linux/amd64 public.ecr.aws/amazonlinux/amazonlinux uname -sm
|
1 2 3 4 5 6 7 8 |
public.ecr.aws/amazonlinux/amazonlinux:latest: resolved |++++++++++++++++++++++++++++++++++++++| index-sha256:f4b5d60ba75876e8a8b02618fd0de3ab796eb210ab37075adf56eab38ec8c3bf: done |++++++++++++++++++++++++++++++++++++++| manifest-sha256:7e4c85064f9fde50cd075fd80244455fd56bdf6481eaace42e3768cc3d466c6a: done |++++++++++++++++++++++++++++++++++++++| config-sha256:612cb43999513098b3f71dd264efb846765677926bae54fb6b48643a44156568: done |++++++++++++++++++++++++++++++++++++++| layer-sha256:68028ec3b506bca4d81560b5fcbd408dc7cc49f4b1717a69d5396ff22700f80a: done |++++++++++++++++++++++++++++++++++++++| elapsed: 56.0s total: 59.4 M (1.1 MiB/s) Linux x86_64 |
7.–rmを省いて実行
$ finch run –platform=linux/amd64 public.ecr.aws/amazonlinux/amazonlinux uname -sm
8.プロセスの確認
$ finch ps -a
|
1 2 3 |
CONTAINER ID IMAGE COMMAND CREATED STATUS PORTS NAMES a4f675b9f4ff public.ecr.aws/amazonlinux/amazonlinux:latest "/bin/bash" 8 minutes ago Exited (0) 8 minutes ago amazonlinux-a4f67 |
9.コンテナの削除
$ finch rm a4f675b9f4ff
10.イメージの確認
$ finch images
|
1 2 3 4 |
REPOSITORY TAG IMAGE ID CREATED PLATFORM SIZE BLOB SIZE public.ecr.aws/amazonlinux/amazonlinux latest f4b5d60ba758 30 minutes ago linux/amd64 170.9 MiB 59.4 MiB public.ecr.aws/finch/hello-finch latest a71e474da9ff 25 hours ago linux/amd64 1.7 MiB 1.0 MiB |
11.イメージの削除
$ finch rmi public.ecr.aws/finch/hello-finch
|
1 2 3 4 |
Untagged: public.ecr.aws/finch/hello-finch:latest@sha256:a71e474da9ffd6ec3f8236dbf4ef807dd54531d6f05047edaeefa758f1b1bb7e Deleted: sha256:2e05c12f4142e6af2317b4097ab105857eb97781088895f41479a9b27378bdcf Deleted: sha256:5f70bf18a086007016e948b04aed3b82103a36bea41755b6cddfaf10ace3c6ef |
$ finch images
|
1 2 3 |
REPOSITORY TAG IMAGE ID CREATED PLATFORM SIZE BLOB SIZE public.ecr.aws/amazonlinux/amazonlinux latest f4b5d60ba758 31 minutes ago linux/amd64 170.9 MiB 59.4 MiB |
12.httpdを実行
$ finch run -d -p 8080:80 httpd
13.プロセスの確認
$ finch ps
|
1 2 3 |
CONTAINER ID IMAGE COMMAND CREATED STATUS PORTS NAMES 5cdd48166b71 docker.io/library/httpd:latest "httpd-foreground" 54 seconds ago Up 0.0.0.0:8080->80/tcp httpd-5cdd4 |
14.コンテナを停止
$ finch stop 5cdd48166b71
15.pythonのバージョン確認
$ finch run –platform=linux/amd64 public.ecr.aws/amazonlinux/amazonlinux python –version
|
1 2 |
Python 2.7.18 |
16.下記の構成でDockerfileを作成
|
1 2 3 4 |
finch-python/ ├ Dockerfile └ docker-compose.yml |
17.Dockerfileの中身
|
1 2 3 4 5 6 |
FROM public.ecr.aws/amazonlinux/amazonlinux:latest WORKDIR /workdir RUN amazon-linux-extras install python3 RUN yum install -y gcc python3-devel RUN pip3 install jupyterlab |
18.docker-compose.ymlの中身
|
1 2 3 4 5 6 7 8 9 10 11 |
docker-compose.yml version: '3' services: python: build: . ports: - "8888:8888" volumes: - .:/workdir command: jupyter-lab --ip=0.0.0.0 --port=8888 --allow-root --no-browser |
19.composeする
$ cd finch-python/
$ finch compose up -d –build
20.コンテナの確認
$ finch container ls
|
1 2 3 |
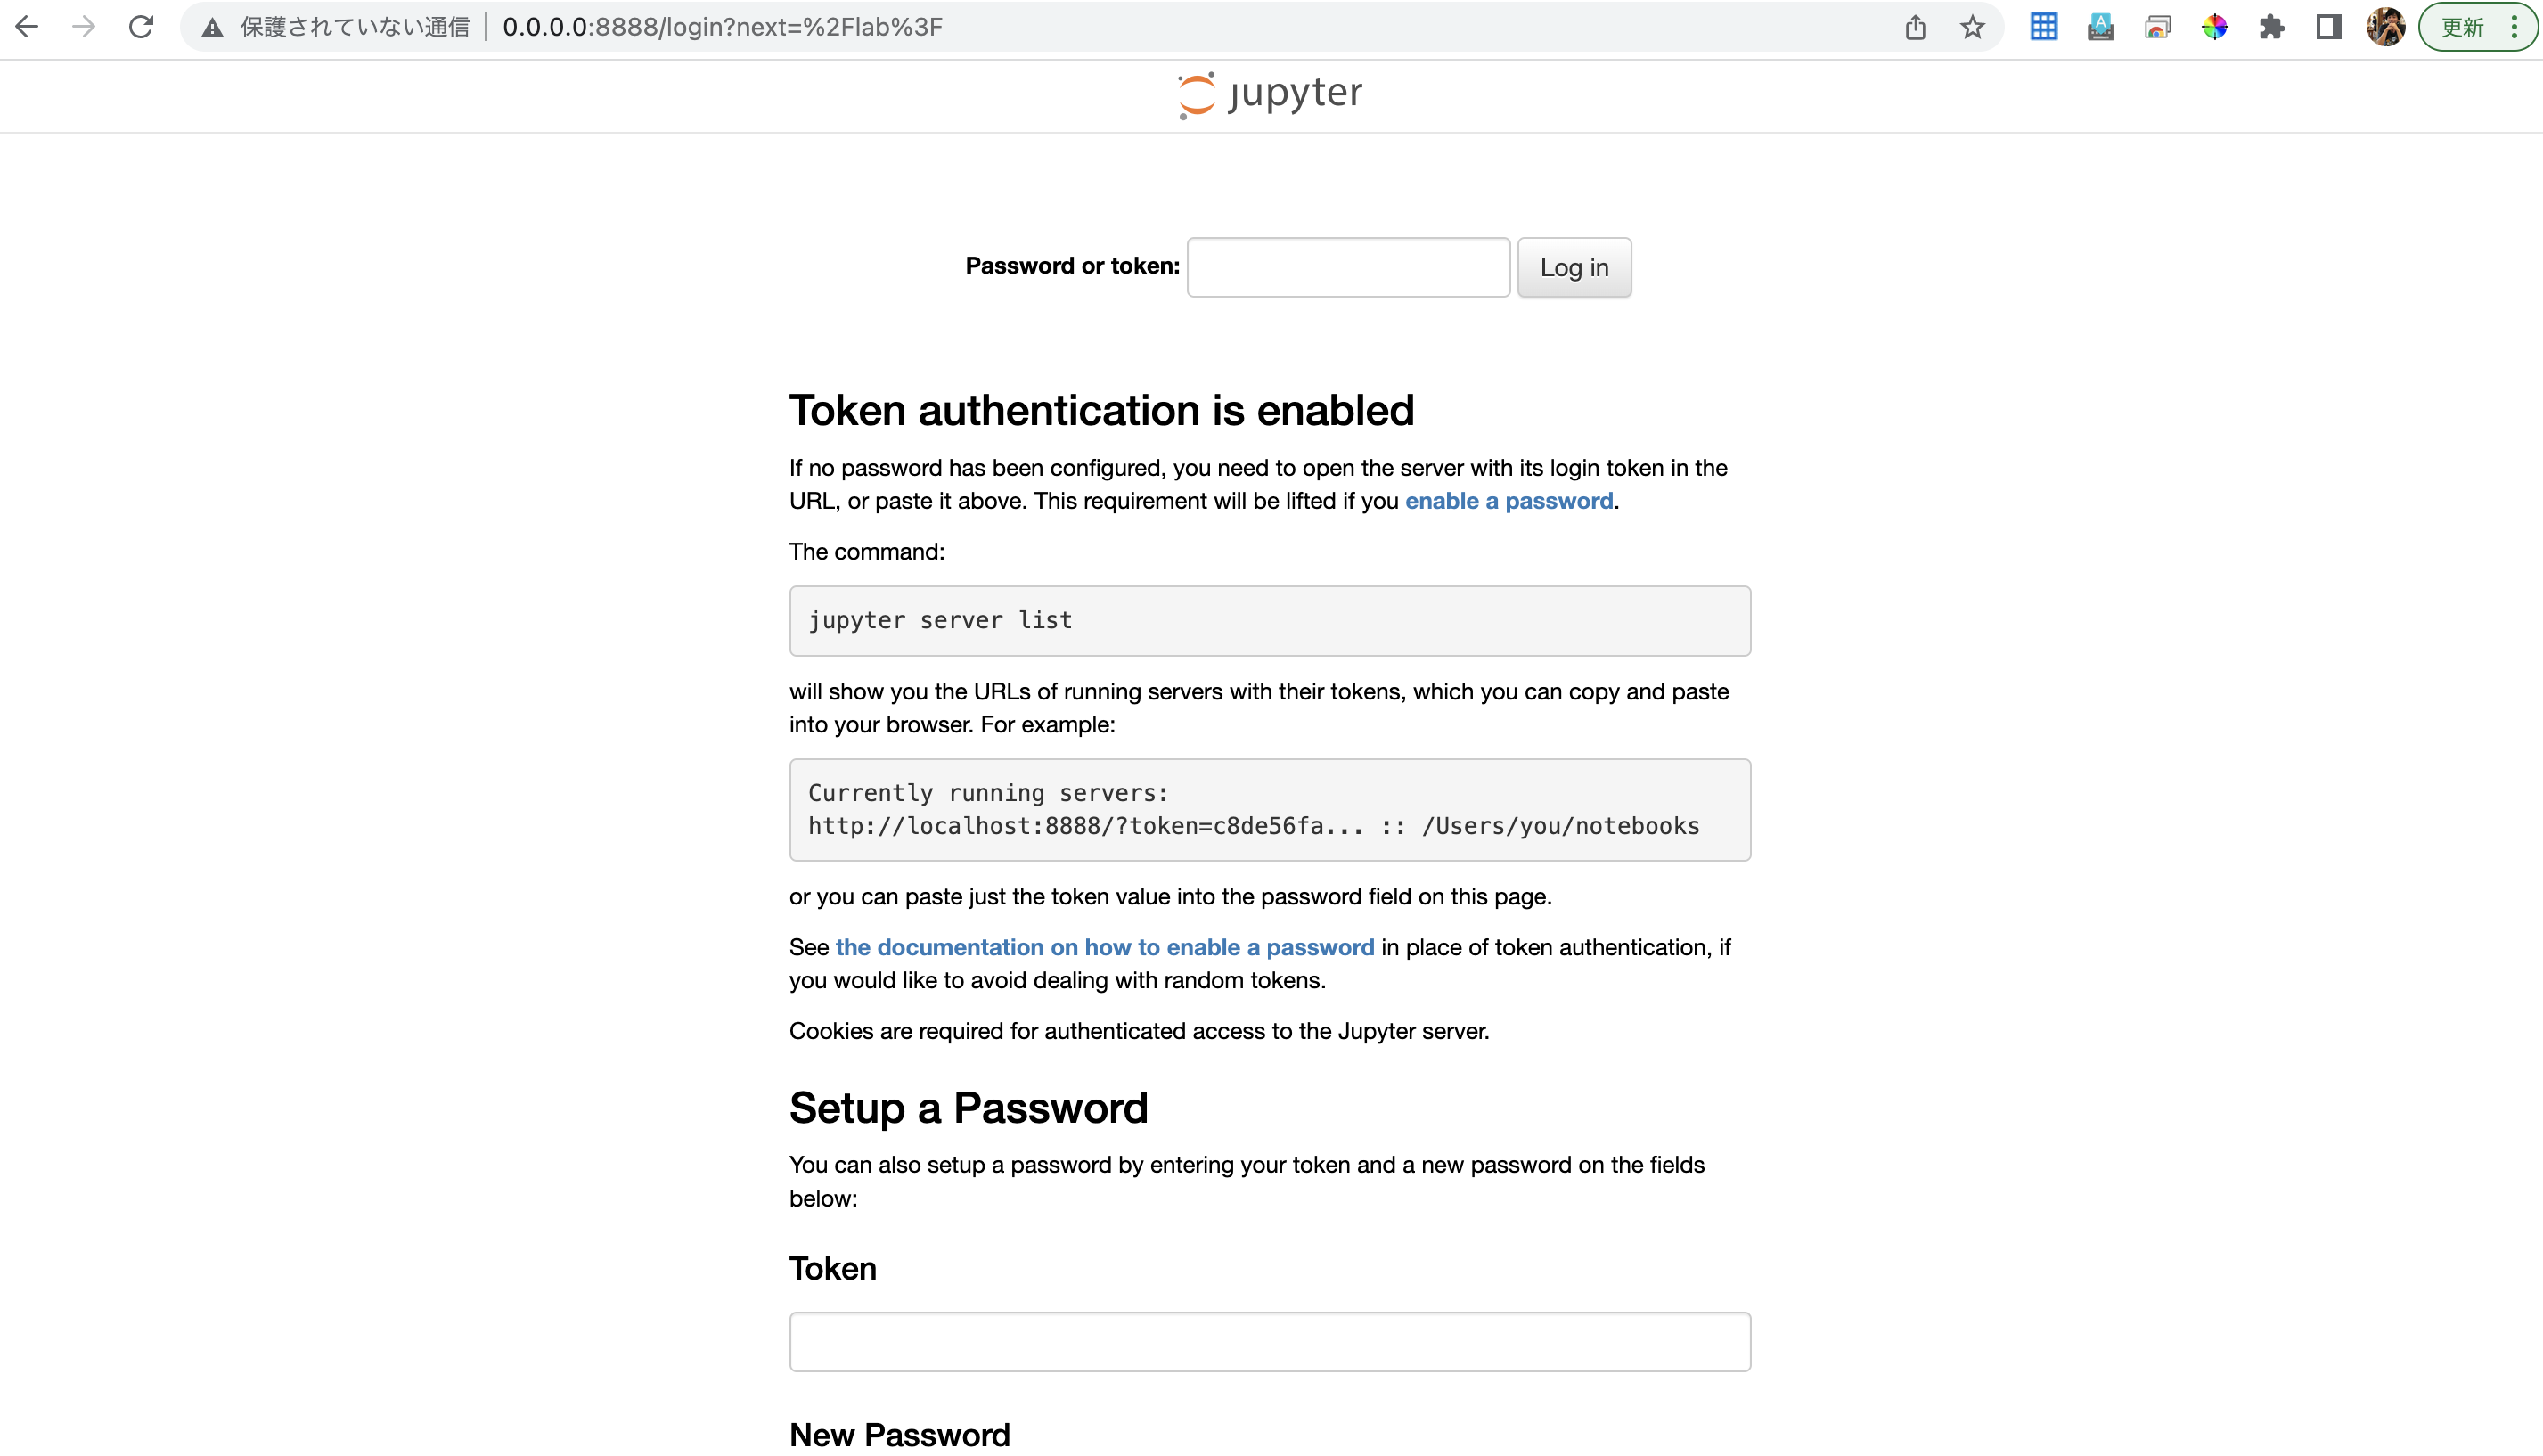
CONTAINER ID IMAGE COMMAND CREATED STATUS PORTS NAMES 6db5eadcdc73 docker.io/library/finch-python_python:latest "jupyter-lab --ip=0.…" 5 minutes ago Up 0.0.0.0:8888->8888/tcp finch-python_python_1 |
Lambdaレイヤーの設定に使ってみる
1.コンテナの中に入り/bin/bashを起動、yumを入れようとして断念
|
1 2 3 4 5 6 7 8 9 10 11 12 13 14 15 16 17 18 19 20 21 22 23 24 25 26 27 28 29 30 31 32 |
$ finch run --name finch-python-run -it finch-python /bin/bash root@ec70d3c96eed:/workdir# ls root@ec70d3c96eed:/workdir# python --version Python 3.11.0 root@ec70d3c96eed:/workdir# mkdir python root@ec70d3c96eed:/workdir# pip install -t ./python requests Collecting requests Using cached requests-2.28.1-py3-none-any.whl (62 kB) Collecting charset-normalizer<3,>=2 Using cached charset_normalizer-2.1.1-py3-none-any.whl (39 kB) Collecting idna<4,>=2.5 Using cached idna-3.4-py3-none-any.whl (61 kB) Collecting urllib3<1.27,>=1.21.1 Using cached urllib3-1.26.13-py2.py3-none-any.whl (140 kB) Collecting certifi>=2017.4.17 Using cached certifi-2022.9.24-py3-none-any.whl (161 kB) Installing collected packages: urllib3, idna, charset-normalizer, certifi, requests Successfully installed certifi-2022.9.24 charset-normalizer-2.1.1 idna-3.4 requests-2.28.1 urllib3-1.26.13 WARNING: Running pip as the 'root' user can result in broken permissions and conflicting behaviour with the system package manager. It is recommended to use a virtual environment instead: https://pip.pypa.io/warnings/venv [notice] A new release of pip available: 22.3 -> 22.3.1 [notice] To update, run: pip install --upgrade pip root@ec70d3c96eed:/workdir# zip -r requests.zip python bash: zip: command not found root@ec70d3c96eed:/workdir# yum install zip bash: yum: command not found root@765daf0bf673:/workdir# apt install yum Reading package lists... Done Building dependency tree... Done Reading state information... Done E: Unable to locate package yum |
2.finch execを用いてコンテナ上でpython3を実行
$ finch exec -it finch-python_python_1 python3
|
1 2 3 4 5 |
Python 3.7.10 (default, Jun 3 2021, 00:02:01) [GCC 7.3.1 20180712 (Red Hat 7.3.1-13)] on linux Type "help", "copyright", "credits" or "license" for more information. >>> exit() |
3.finch execを用いてコンテナ上でbashを起動、pythonフォルダにrequestsをpip install
$ finch exec -it finch-python_python_1 bash
|
1 2 3 4 5 6 7 8 9 10 11 12 13 14 15 16 17 18 19 20 21 22 23 24 25 |
bash-4.2# ls Dockerfile docker-compose.yml sample.py bash-4.2# mkdir python bash-4.2# python --version Python 2.7.18 bash-4.2# python3 --version Python 3.7.10 bash-4.2# pip3 install -t ./python requests WARNING: Running pip install with root privileges is generally not a good idea. Try `pip3 install --user` instead. Collecting requests Using cached requests-2.28.1-py3-none-any.whl (62 kB) Collecting charset-normalizer<3,>=2 Using cached charset_normalizer-2.1.1-py3-none-any.whl (39 kB) Collecting certifi>=2017.4.17 Using cached certifi-2022.9.24-py3-none-any.whl (161 kB) Collecting idna<4,>=2.5 Using cached idna-3.4-py3-none-any.whl (61 kB) Collecting urllib3<1.27,>=1.21.1 Using cached urllib3-1.26.13-py2.py3-none-any.whl (140 kB) Installing collected packages: charset-normalizer, certifi, idna, urllib3, requests Successfully installed certifi-2022.9.24 charset-normalizer-2.1.1 idna-3.4 requests-2.28.1 urllib3-1.26.13 bash-4.2# cat /etc/system-release Amazon Linux release 2 (Karoo) bash-4.2# exit |
4.Lambda関数を作成
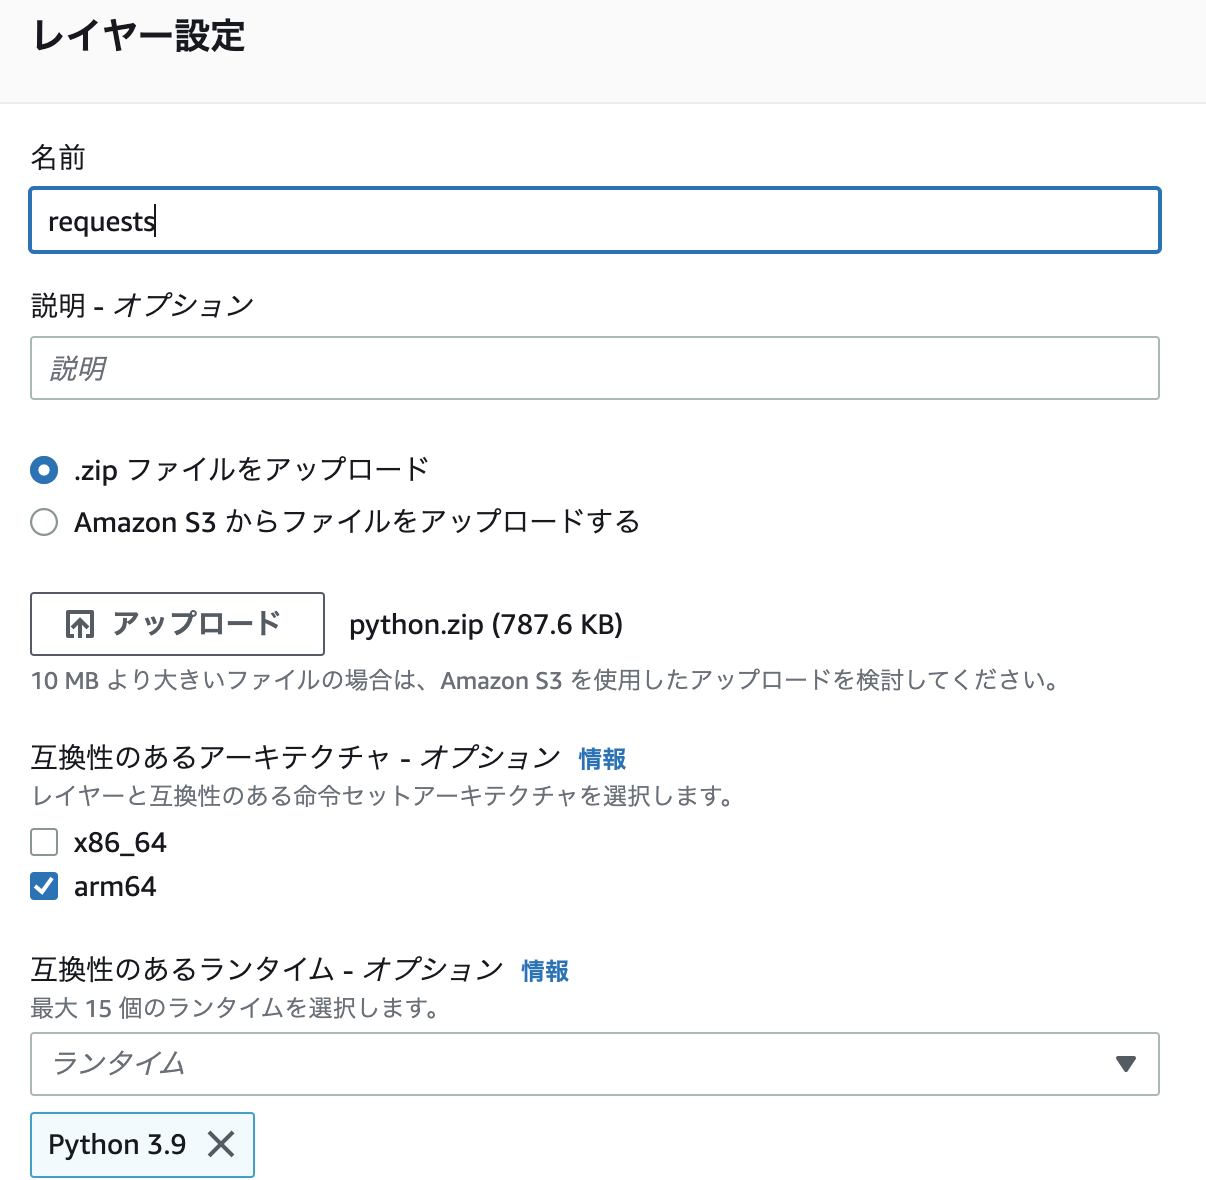
5.先ほど作成したpythonフォルダをzip化して、Lambda Layersに登録。ローカルからアップロードできてうれしい!
7.Lambda関数を実行
|
1 2 3 4 5 6 7 8 9 10 11 12 13 |
lambda_function.py import json import requests def lambda_handler(event, context): # TODO implement response = requests.get("https://weather.tsukumijima.net/api/forecast/city/400040") return { 'statusCode': 200, 'body': json.dumps(response.json()) } |
8.プロセスの確認
$ finch ps
|
1 2 3 |
CONTAINER ID IMAGE COMMAND CREATED STATUS PORTS NAMES 49463efb8c15 docker.io/library/finch-python_python:latest "jupyter-lab --ip=0.…" 35 minutes ago Up 0.0.0.0:8888->8888/tcp finch-python_python_1 |
9.コンテナを停止
$ finch stop 49463efb8c15
$ finch container ls
|
1 2 |
CONTAINER ID IMAGE COMMAND CREATED STATUS PORTS NAMES |
10.finchを停止
$ finch vm stop
|
1 2 3 |
INFO[0000] Stopping existing Finch virtual machine... INFO[0009] Finch virtual machine stopped successfully |
お疲れ様でした


